Clip-in hair extensions are the fastest way to transform your look — no salon, no glue, no commitment. In just 10 minutes, you can add length, volume, or a pop of color. Here is how to clip them in like a pro.
🛍️ Shop This Guide: Shop Clip-In Extensions →
Table of Contents
- What You Need
- Step-by-Step
- How Many Wefts Do You Need?
- Tips for All-Day Hold
- Related Articles
What You Need
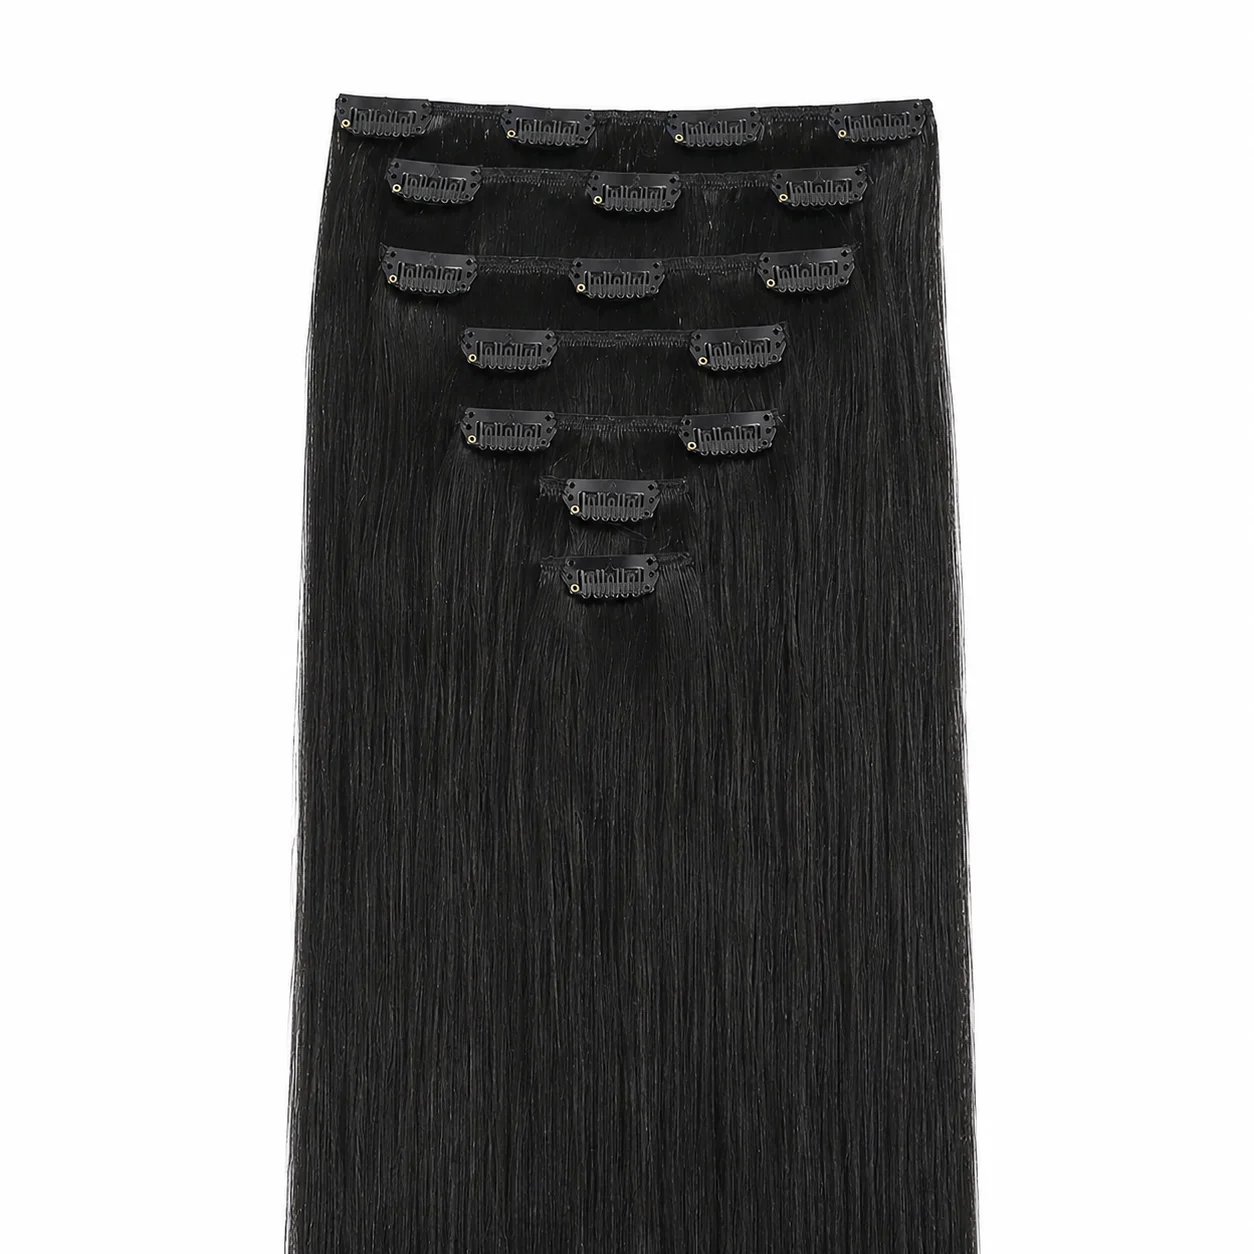
- 1 pack of VELXIMO Clip-In Extensions (120g for full volume)
- Wide-tooth comb
- Sectioning clips
- Mirror
Step-by-Step
1. Prep Your Hair
Brush thoroughly to remove all tangles. If your hair is very straight or silky, add some texture with dry shampoo or light teasing at the roots — this gives the clips better grip.
2. Section from Bottom
Start at the nape of your neck. Part a thin horizontal section just above the hairline. Clip all remaining hair up.
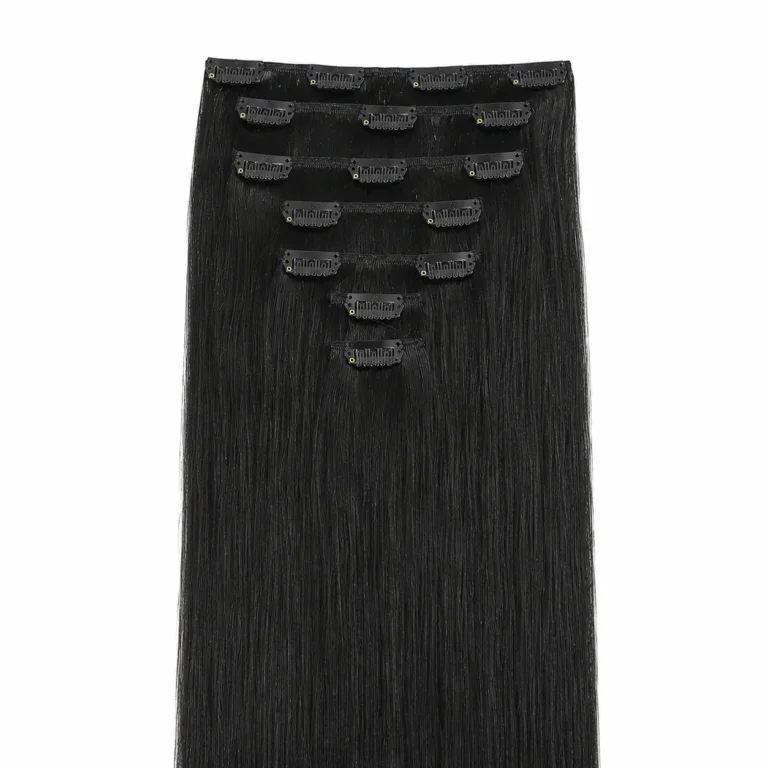
3. Open Clips
VELXIMO clip-ins come with 4-5 silicone-backed clips per weft. Open all clips before positioning.
4. Position and Snap
Place the weft along your parting, clips facing down toward the scalp. Starting from the middle clip, snap each one shut. You should hear a satisfying click.
5. Layer Up
Release the next section of hair. Part another horizontal line 1-2 inches above the first weft. Repeat with progressively wider wefts — narrowest at the nape, widest at the crown.
6. Blend and Style
Brush through to blend your natural hair with the extensions. Curl or straighten both together for seamless integration.
How Many Wefts Do You Need?
- Subtle volume: 4-5 wefts (1 pack)
- Noticeable length + volume: 7-8 wefts (2 packs)
- Full transformation: 10 wefts (3 packs)
Tips for All-Day Hold
- Tease roots slightly where clips attach
- Spray hairspray on the weft before clipping
- Push clips firmly against scalp before snapping
- Do not place clips directly on top of each other