Tape-in hair extensions are lightweight, virtually invisible, and can be installed in under an hour. This guide covers everything you need to know.
🛍️ Shop This Guide: Shop Tape-In Extensions →
Table of Contents
- What You Need
- Step-by-Step
- Aftercare
- Removal
- Related Articles
What You Need
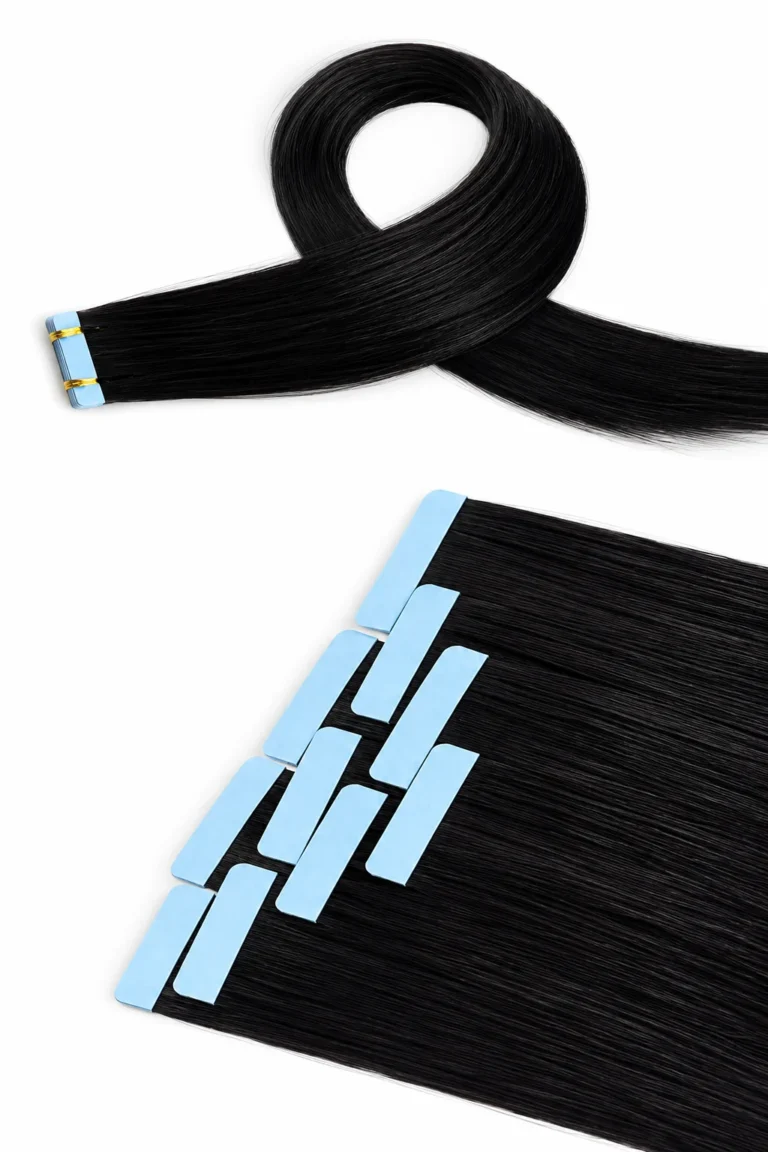
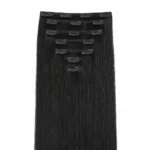
- 1-3 packs VELXIMO Tape-Ins (60g each)
- Sectioning clips + tail comb
- Flat iron for sealing
Step-by-Step
1. Wash and Dry
Start with clean, completely dry hair. No conditioner or products on roots.
2. Section Hair
Start at the nape. Create a thin horizontal parting. Clip the rest up.
3. Sandwich Method
Place one weft under hair section (adhesive up). Place second weft on top (adhesive down). Press firmly for 10-15 seconds.
4. Seal with Heat
Flat iron on low-medium (160°C) over the tape area for 2-3 seconds.
5. Work Up
Repeat row by row, 1 inch apart, keeping wefts away from hairline and part line.
Aftercare
- Wait 48 hours before washing
- Sulfate-free shampoo only
- Brush ends to roots twice daily
- Sleep in loose braid
- Re-tape every 6-8 weeks
Removal
Use tape-in remover solution. Apply to tape, wait 30 seconds, slide apart gently. Never pull or yank.
Questions? velximo@gmail.com